Design guide 02
Cold air in the front, hot air out the back. Everything else is detail.
Supply air that has already picked up exhaust heat is the most expensive air in the room. Keep the two volumes apart and the cooling system works as designed.
Model
The airflow model, and the line that is the problem.
Supplyenters at the front face of every cabinet
Returnleaves at the rear face, and is collected by the room or by in-row units
Mixingany supply air that reaches an intake after it has picked up exhaust heat
Mixed air arrives at the intake warmer than the supply set point, so the equipment runs hotter than the design assumed. The cooling system is then asked to supply colder air than it was sized for, which is how a room runs out of capacity while still reporting spare tonnage.
Section
The aisle, cut across.
Mesh ratio
The mesh ratios, and the reason they are not the same.
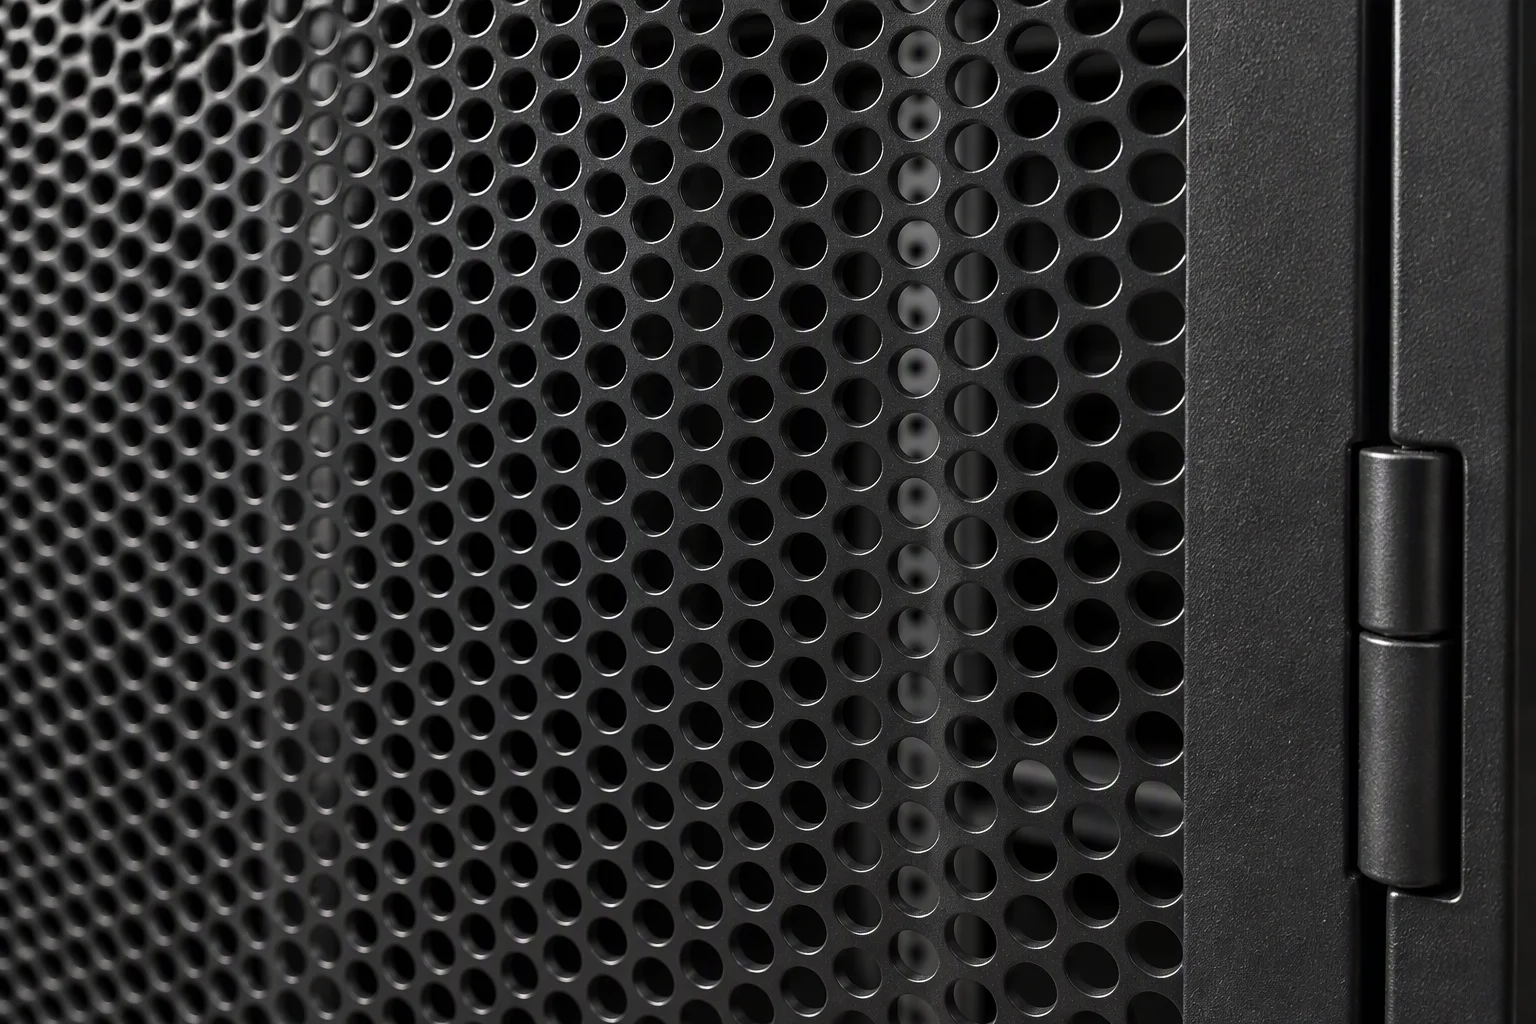
| Door | Ratio | What it does | Why this number | How it is checked |
|---|---|---|---|---|
| Front door | ≥75% | the intake face for the whole cabinet | nothing else in the path is as cheap to get right or as easy to get wrong | light behind the door, measured open area, documented at handover |
| Rear door | ≥60% | the exhaust face, shared with cable egress | cable openings take area away from the mesh that remains | same method, and a look at what has been run through the openings |
Check Checked on site with a light behind the door and a measured open area, not by eye.
Blanking
Rules about a hole.
- 01
Close every unused U with a 1U blanking panel.
- 02
A server that does not fill its own U still leaves a gap above it.
- 03
Seal the gaps between adjacent equipment, not only the empty U.
- 04
A blanking panel is a panel, not a shelf.
- 05
Order blanks with the cabinets: they are the cheapest part of the airflow path.
Rule An open U is a hole in the airflow path.
Bypass
Four ways supply air reaches the return without cooling anything.
Cables
Do not block the exhaust face.
- 01
Run cable behind the rails, not across the exhaust face.
- 02
Use vertical managers; a bundle tied across the rear door is a wall.
- 03
Seal cable cutouts after the last cable is pulled.
- 04
Leave the rear door able to close with the cables in place.
Rule Rear cables do not remove heat; they only decide where the heat leaves.
Decision
Does this room need containment?
| Condition | Needs containment | May not need containment |
|---|---|---|
| Room density | dense pockets, or a row that keeps getting fuller | a lightly loaded room with wide aisles |
| Floor type | raised floor or slab — either works, state which | not a deciding factor on its own |
| Row length | long rows: 3 to 8 cabinets in one run | one or two cabinets standing alone |
| Ambient control | the room temperature is not yours to control | the room is tightly controlled and lightly loaded |
Rule Containment is a decision about the room, not about the cabinet.
Comparison
Enclose the cold side, or the hot side.
| What it decides | Enclosed cold aisle | Enclosed hot aisle |
|---|---|---|
| What is enclosed | the supply side, in front of the intakes | the return side, behind the exhausts |
| What it does to the room | the rest of the room becomes the return plenum | the rest of the room becomes the supply plenum |
| What it needs from the floor | works with a raised floor or with in-row units | usually pairs with in-row or overhead return |
| Where it goes wrong | row ends and cable cutouts are left unsealed | people work inside the enclosed hot volume |
Sealed row
What changes once the row is closed.
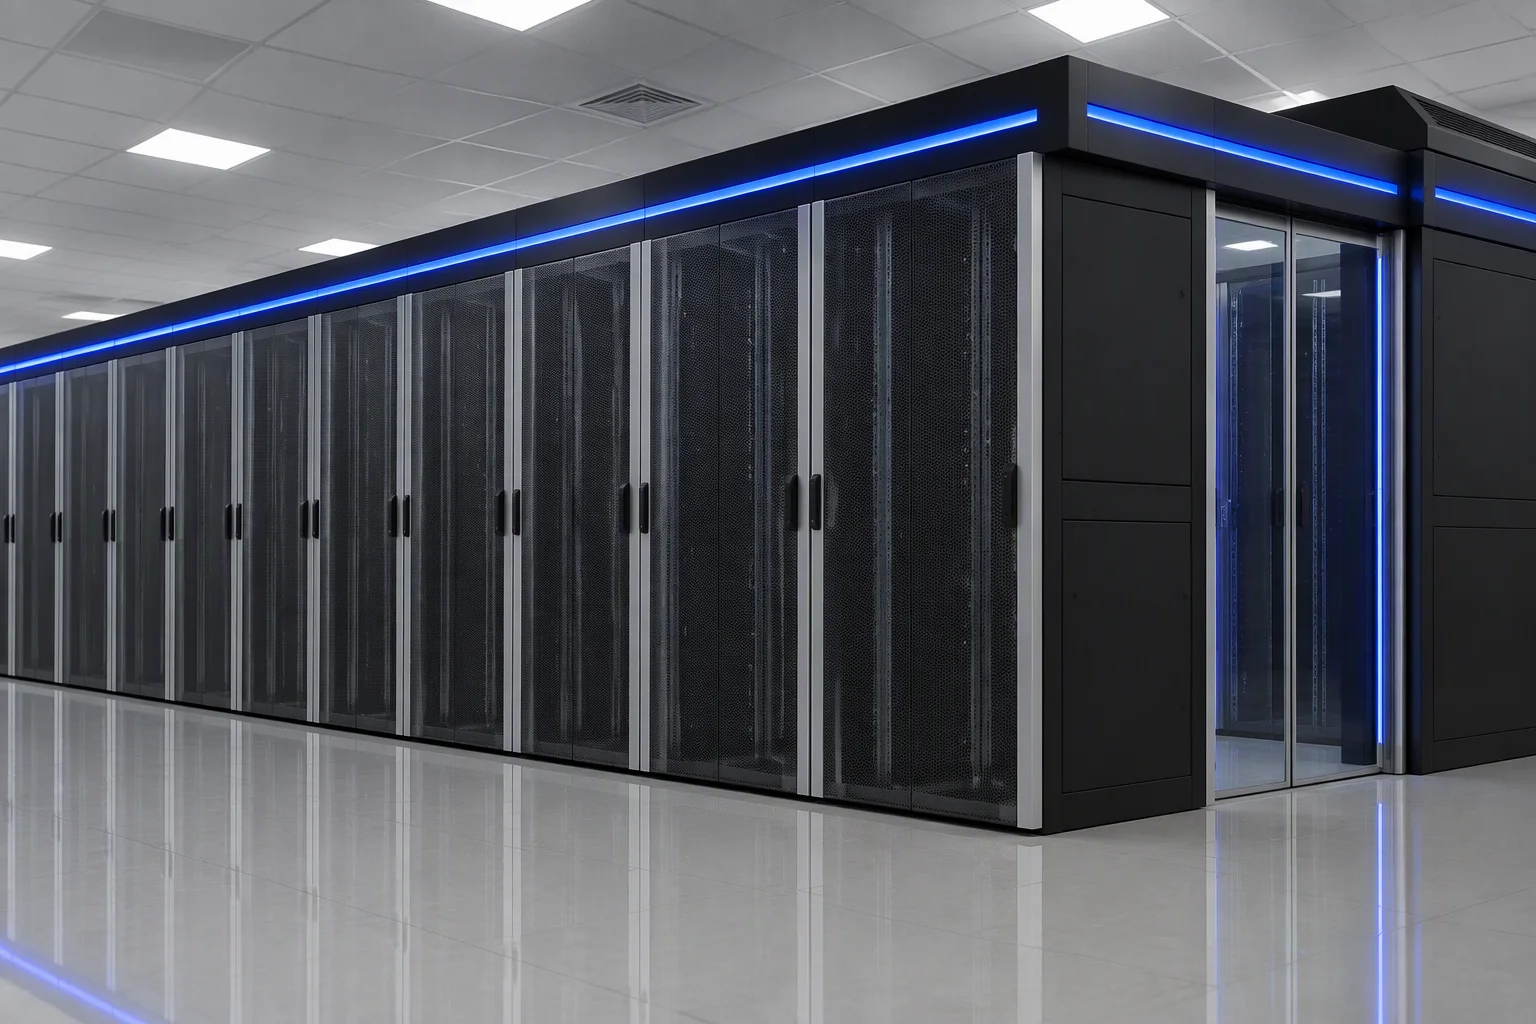
- In-row cooling inside a sealed row
- Glass sliding end doors
- Roof panels that flip open
- 3 to 8 cabinets, extendable
- 2–3 weeks on site
- Cold aisle containment test report — 4 pages
Instrumentation
Where to measure, and what it triggers.
PositionAt the front of the rack.
PositionAt three heights: bottom, middle, top.
PositionAt the top of the rack, where it is usually hottest.
ActionRemote web and SMS alerts.
ActionSmoke-sensor interlock with emergency ventilation.
Rule Measure at the front of the rack, not at the wall.
Limit
Why we do not publish a cooling capacity figure.
- 01
The number depends on your room, your supply temperature and your IT load profile — none of which we control.
- 02
What is tested is the outcome: 25%+ against a conventional open layout, with the report to match.
- 03
A single rack figure would be a room answer wearing a cabinet label.
Offer Tell us the room and we will size the row with you.
Commissioning
Checks that can be answered yes or no.
- 01Measure intake temperature at the bottom, middle and top of one rack in the row.
- 02Check blanking coverage: every unused U closed, every gap between equipment sealed.
- 03Check the mesh: front door at 75% or above, rear door at 60% or above.
- 04Walk the row ends and the cable cutouts; seal what is open.
- 05Record the baseline: room temperature, supply temperature, intake temperatures.
- 06Repeat after 24 hours of normal load and compare against the baseline.
Rule Check the top of the rack first; it is where mixing shows up.
Specification block
Copy this into your technical requirement.
Front door mesh: >= 75% open area; rear door mesh: >= 60%
Blanking panels: one 1U panel per unused U, supplied with the cabinets
Cable management: vertical managers; rear cable cutouts sealed after installation
Containment: sealed row with glass sliding end doors and roof panels, 3 to 8 cabinets
Intake temperature: measured at the front of the rack at three heights, at handover